
Jan
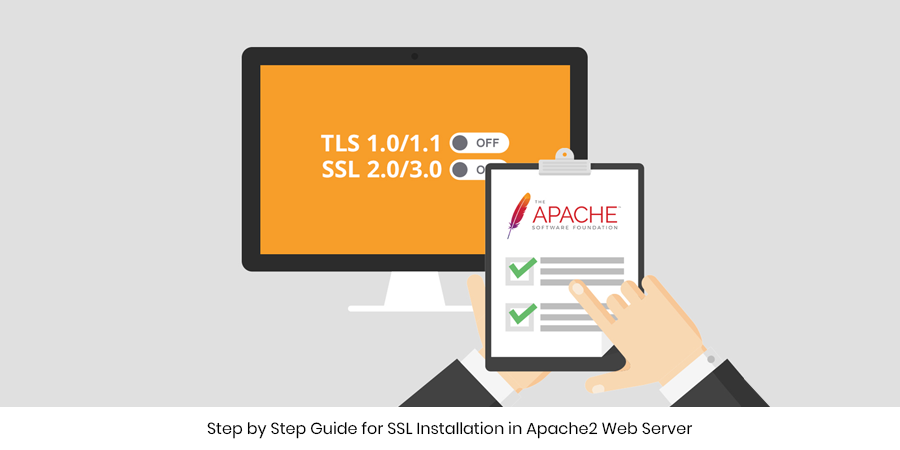
Step by Step Guide for SSL Installation in Apache2 Web Server
SSL (Secure Socket Layer) which is a standard security protocol which has the primary responsibility of establishing the encrypted links between the web server and browser for online communication.
SSL certificates have a key pair: a public key and a private key. These couple of keys work together to establish an encrypted connection. Added, the certificate also contains what is called the “subject,” which is the identity of the certificate/website owner.
If you are struggling with the installation of SSL in Apache2 Web Server, this article will pave the way for your process.
You can create a CSR using OpenSSL & install your SSL certificate on your Apache server with the following steps.
Steps include:
- Download and copy the certificate files.
Copy the primary and intermediate certificate into Ubuntu server where all SSL and key files are stored and make them readable by root only.
Ex – /etc/SSL/ca.crt
- To find the proper configuration file
apachectl -s - Enable SSL on apache2 using command sudo a2enmod SSL
and restart apache sudo service apache2 restart. - Normally apache VIrtual host configuration files are located in /etc/apache2/sites-enabled.
- Make a replica of the configuration file where Virtual Host settings for the new SSL config file
- Editing Apache2 default virtual host config file using the command
sudo nano /etc/apache2/sites-enabled/000-default.conf
(Note: Backup current config file for safety) - Add these lines in the virtual host file <VirtualHost *:443>
ServerName example.com
DocumentRoot /var/www/
SSLEngine on
SSLCertificateFile /your/path-to-ssl/example_com.crt
SSLCertificateKeyFile /your/path-to-ssl/example_com.key
SSLCertificateChainFile /your/path-to-ssl/example_com.ca-bundle
</VirtualHost> - Enable new SSL config file by running the command
sudo a2ensite example-ssl.conf - After saving the virtual host file and enabled new configuration site run a syntax command to check the syntax OK.
- Reload Apache server for the changes to male effect
sudo service apache2 reload - To verify the Apache (HTTPS) web server, open a web browser and type server IP Address (with “https://,” for example “https://IP-address”).
- SSL installation and information can be verified using tools
https://www.sslshopper.com/
Final Verdict
These steps would be helpful for SSL Installation in Apache2 Web Server we hope. If you find any queries related to this, you can jot down your comments in the comments section below.
Thanks for Reading!
/etc/apache2/sites-available/example-ssl.conf